Windows PC

To burn an audiobook (or multiple audiobooks) to a CD or DVD in Windows perform the following steps.
1) Insert a blank writable disc, such as a CD-R, CD-RW, DVD-R, DVD-RW, or DVD+RW disc, into your computer's CD, DVD, or Blu-ray disc burner.
2) In the "AutoPlay" dialog box that appears, click "Burn files to disc using Windows Explorer." If the "AutoPlay" dialog box does not appear, click the Windows Start button, then click "Computer", and then double-click your disc burner.
3) In the "Burn a Disc" dialog box, type a name for the disc in the "Disc title" box, click "With a CD/DVD player", and then click "Next."
4) Open the folder that contains the files you want to burn, and then drag the files into the empty disc folder. Note: to select more than one item, press and hold the Ctrl key, and then click the files you want to burn.
5) On the toolbar, click "Burn to disc", and then follow the steps in the wizard. Afterward the selected files will be copied to the disc. When the disc burning is complete, the disc burner tray will open and you can remove the disc.
Apple Mac
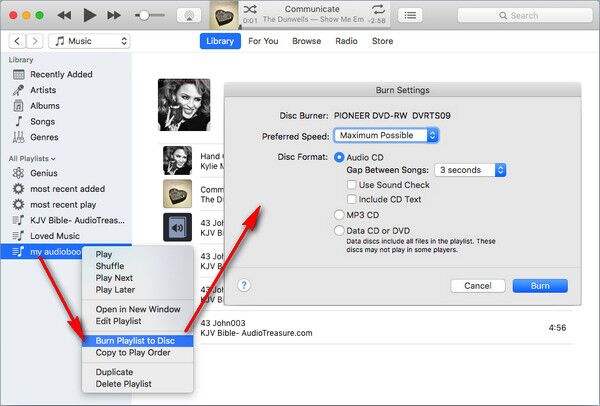
On iTones

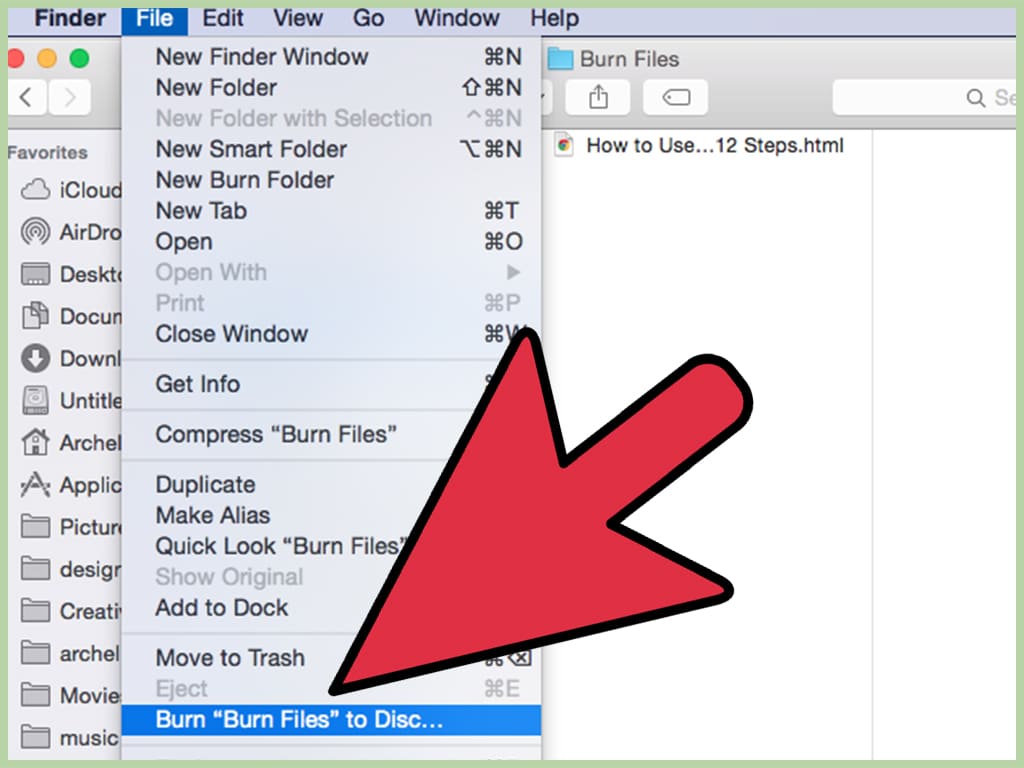
To burn an audiobook (or multiple audiobooks) to a CD or DVD in OSX perform the following steps in Finder.

1) Insert a blank writable disc, such as a CD-R, CD-RW, DVD-R, DVD-RW, or DVD+RW disc, into your Mac's CD, DVD, or Blu-ray disc burner.
2) Choose "Open Finder" from the Action pop-up menu and then click "OK."
3) Your blank disc will now appear as an icon on your desktop but its icon lets you know that it's a recordable CD or DVD.
4) Drag your audiobook files onto the disc icon until the disc contains all the files you wish to burn to the disc.
5) Open the disc icon and click the "Burn" button in the top-right corner of the disc's window, or click the "Burn" icon (which looks like a radioactivity warning sign) to the right of the disc in the sidebar.
6) Choose a burning speed from the "Burn Speed" pop-up menu, click the "Burn" button, and in just a few minutes your disc will be finished.
NOTE: The above is only meant to provide general guidance based on the Mac OSX and Windows operating system's built-in disc burning functionality. If you have trouble with this process, please consult Apple or Windows technical support for assistance. Unfortunately we are not equipped to troubleshoot third party applications or operating systems.
